Saturday, June 25, 2011

Faucet and Windowsills

In my last post the sink area looked a bit sad and faucet-less.

Photobucket

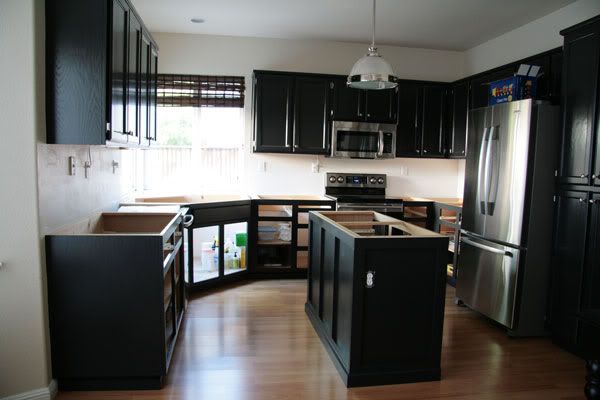
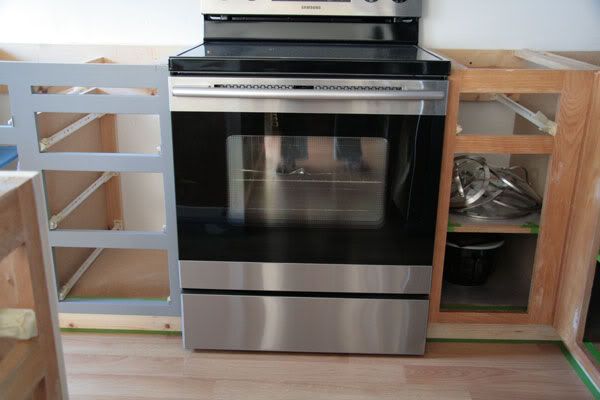
Here it is after the plumber left:

Photobucket
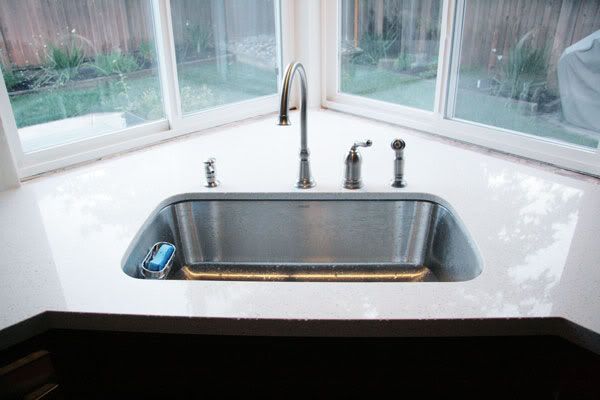
We thought about reconnecting all the plumbing ourselves but after getting a quote we decided we would let the professional do it - for some reason we thought it would be a lot more expensive than it actually was. Plus knowing our luck we'd do something wrong and wake up in the morning to a massive leak! :-)


Most states don't require a dishwasher air gap anymore but California still does. We didn't want one so we just put a soap dispenser in the hole and if/when we sell the house we can take the soap dispenser out and have the air gap installed.

Photobucket
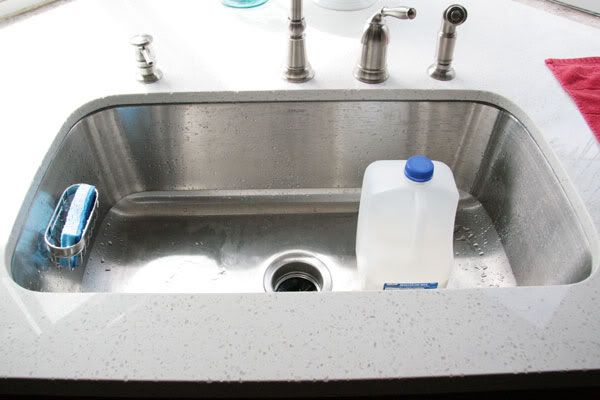
Just for fun, here is a gallon of milk in the sink for scale. It really is a trough!

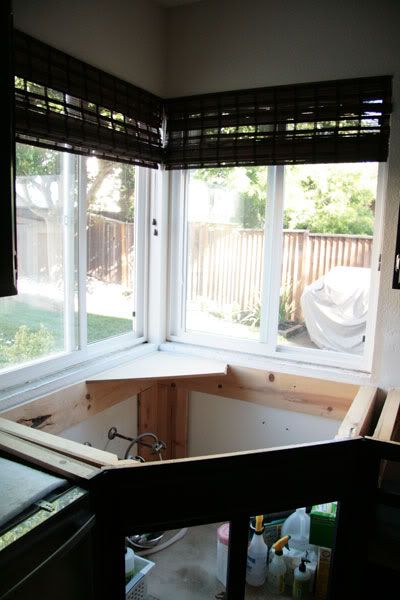
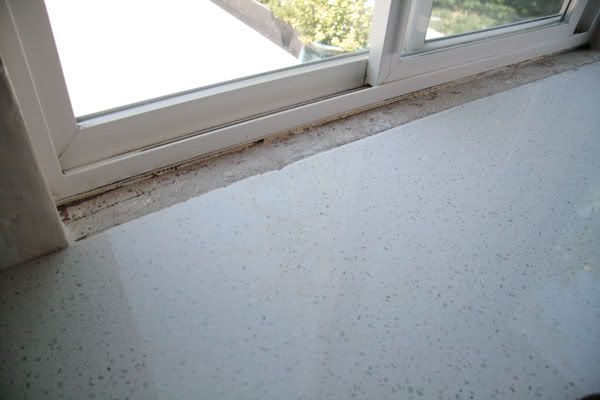
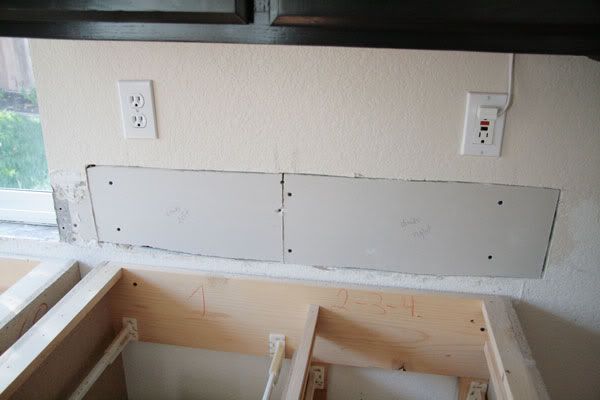
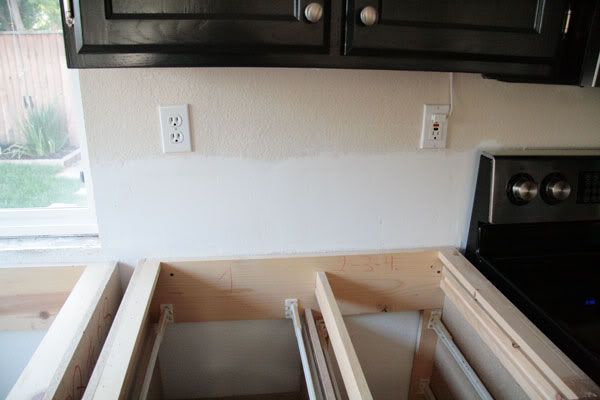
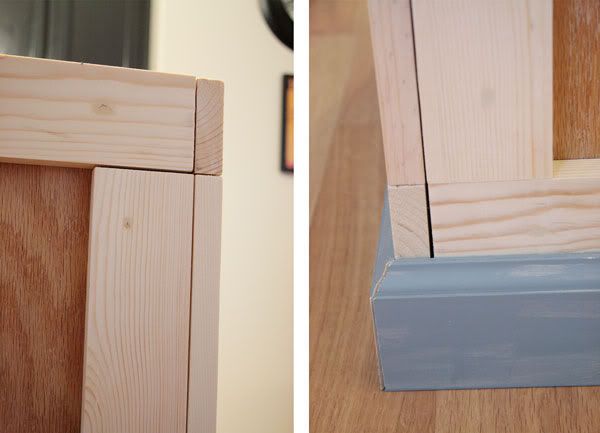
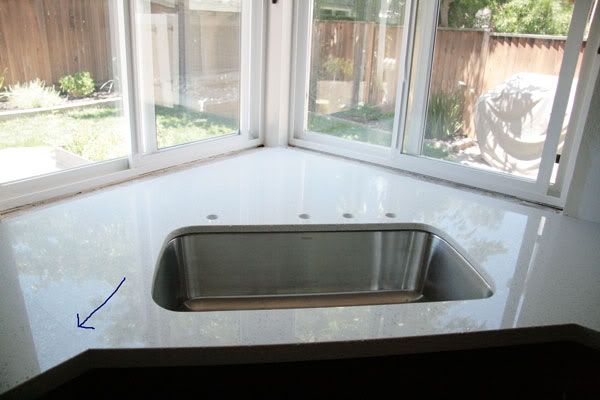
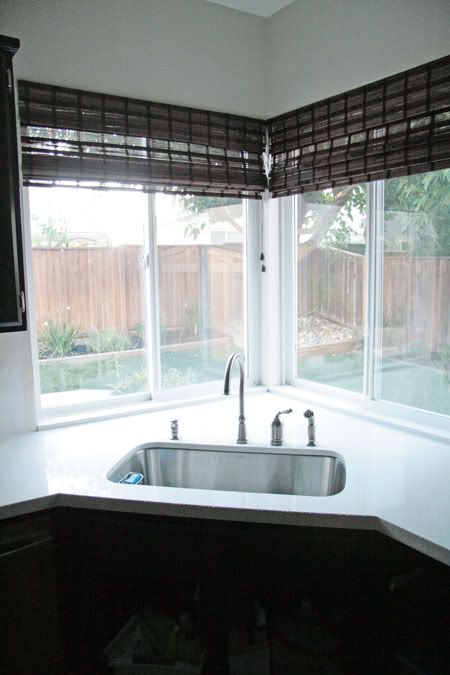
This past Wednesday the windowsills were installed. Its so nice not to have those big gaps along the windows anymore.

Photobucket

Photobucket
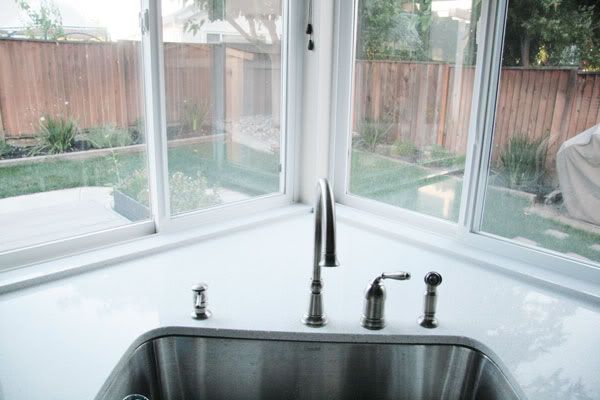
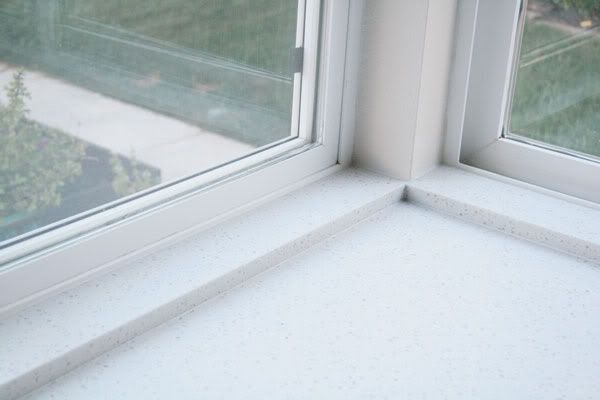
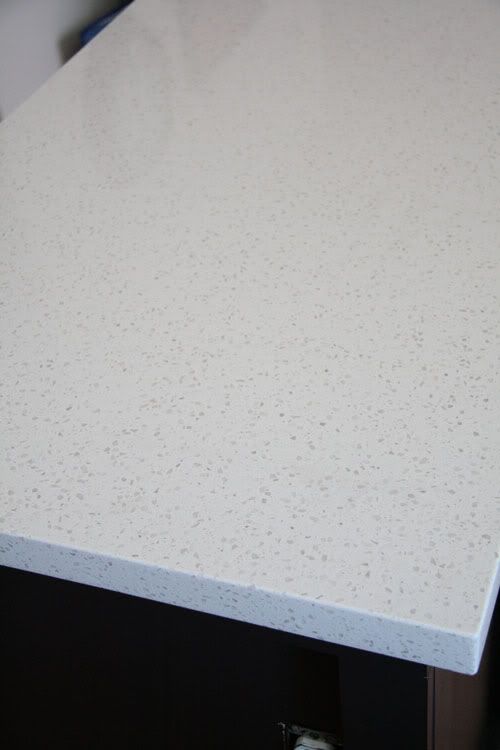
We are very happy with how the sills came out. We were worried it might look a bit weird but it blends in quite well.

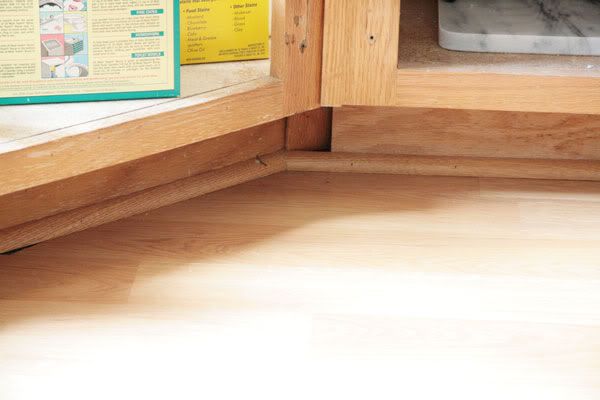
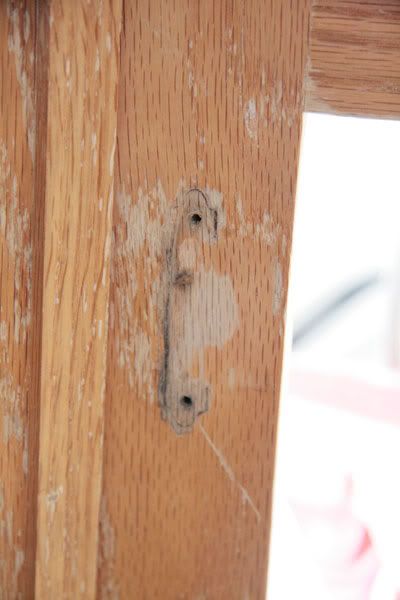
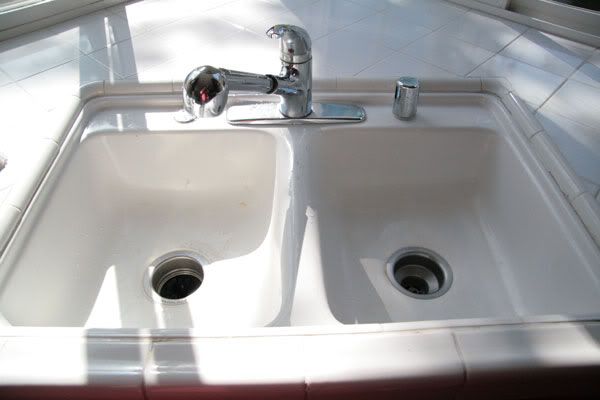
As you can see in the pic below our old tile counters had a thicker base and flowed right up to the window. Geez I really don't miss that small sink. Nor do I miss the "view" outside - a ratty deck partition and overgrown bush.

Photobucket

Photobucket
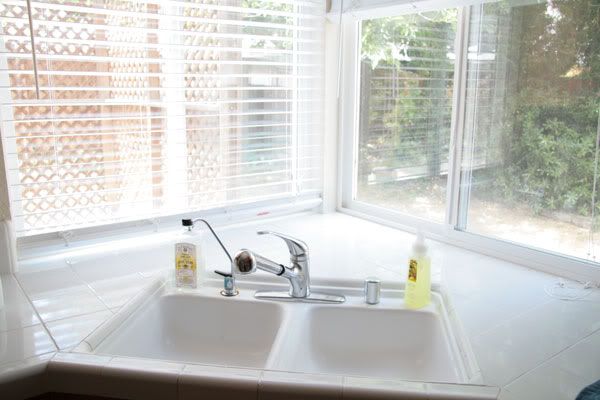
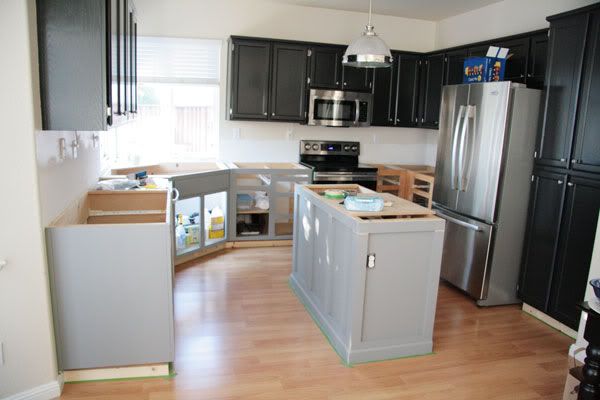
This is so much better!

I made some progress this week on the doors and drawers so hopefully they will be ready to go back in the kitchen by next weekend. Then we just have to do the backsplash and we'll be done. Can't wait!

Wednesday, June 15, 2011

Countertops are in!

There was some delay with the countertop fabrication process so we didn't get our countertops until today.

Photobucket
This is how things looked this morning before the guys got here. Over the weekend we switched the white faux wood blinds to bamboo shades because we thought a natural texture would look better with all the black and white.

Photobucket
You cant see it that well in this photo but there is a little ledge / window sill along the windows. Our old tile counters were super thick and the tile went all the way to the window - we didn't realize this until we ripped the tile counters out. The new counter stops in line with that ledge so are having sills made out of quartz - hopefully it looks okay. Our other choice was to tile that area and we thought that would look weird.

Photobucket
Here are the pretty counters installed! I love how shiny and seamless it is - I don't miss all the grout lines one bit!

Photobucket
A detail shot of the pattern. Don't worry, those aren't chips along the edge - they are clear pieces of quartz.

Photobucket
We love the huge sink! We have been calling it a trough! I put that arrow in so you can see the 1 seam we have. Its not too noticeable. When I got the quote from Home Depot they told me we would have to have 3 seams and their quote was $1k higher - glad we shopped around!

Photobucket
A closeup of the seam.

Photobucket
Where the window sill is supposed to be. Unfortunately when the guys got here they realized the pieces that are supposed to go there didn't make it onto the truck. I was a bit bummed but they say they will come back within a week to install them.

Photobucket
And finally, a shot of the delicious slab on the island. Because we added some trim to the island and the counter overhangs slightly, the countertop is now 4.5 inches longer and 4 inches wider. It doesn't sound like it would make a big difference but the whole island feels much more substantial.

The plumber came this evening and installed the faucet and connected the under sink plumbing etc. but I haven't taken any photos yet. I'll get to that soon!

Sunday, June 12, 2011

The Dynamic Duo

Since I don't have any kitchen updates to share I thought I would post some photos of our dog-children.

Photobucket
I found them in the guest room one afternoon, staring out the window. So cute.

Photobucket

Photobucket
You'd think this photo was posed, but they were actually lying like that on their own!

Photobucket
This is a common scene when we're working in the yard. Bored to death.

Photobucket
Again, bored.

Photobucket
I'm not sure why Zeke decided to sit on the back of the couch. Of course, before reprimanding him I had to take a photo.

Photobucket
Waiting to go outside.

Photobucket
Watching us cook, hoping for scraps.

Photobucket
Froggie.

What would we do without these little dears in our life? :-)

Thursday, June 9, 2011

Kitchen progress

The good news: we found out today that our new countertops will be installed on Tuesday.

The bad news: we haven't powered through our to-do list quite as fast as we thought we would and are now running a little behind.

We (and by we I mean I) are learning that everything takes longer than you think it will. Josh is usually more realistic about how long things are going to take but I find myself saying things like "oh I'm sure we'll be able to cut and install all the trim for the island in 45 minutes". Haha very funny Laura.

I read somewhere that the formula for DIY projects is to double your time estimate and increase by a unit - so, for example, something you think will take an hour will actually take 2 days. Sadly this formula is not totally ridiculous in our experience.

Here is our progress in pictures:

Photobucket
Patching the drywall was fun. Not. We could have bought a huge piece of drywall for six bucks. Unfortunately the huge piece would not fit in the car so we had to buy four 24"x24" pieces at $4.25 each. That was a bit of a bummer.

Photobucket
After taping the seams and spackling everything we spent a couple hours after work one night sanding everything smooth.

Photobucket
Next on the list was the island. The laminate floor was put in after the cabinets (there's linoleum underneath) and quarter round was put in to hide the gaps between the floor and the cabinets. I'm not crazy about how it looks so we removed it.

Photobucket
Isn't it just lovely how the island blends into the floor?

Photobucket
Next, a thorough sanding.

Photobucket
Then some trim. I really wanted a more chunky looking island so we used cheap pine 1x3s and some baseboard trim. Its a little hard to envision the finished product with the 3 different colors going on but I thought it looked pretty good for amateurs like us.

Photobucket
The stove back in place and no more holes in the walls!

Photobucket
We removed the quarter round from the rest of the cabinets.

Photobucket
And started sanding.

Photobucket
Some parts needed more attention than others!

Photobucket
Our measurements weren't quite perfect so we had some gaps to fill.

Photobucket
And then everything got a coat of primer. Well almost everything - we stopped at 10:30 pm because we have to get up early so I still have to finish priming the rest.

Photobucket
Somehow the primer actually looks better than the orange oak.

The doors and drawers are still in the garage and have been put on the back burner while we work in the kitchen. This weekend I need to finish priming, and then paint the cabinets. The polyurethane will have to wait until after the countertops are installed because I like to give the paint a couple days to cure first. I'm going to have to be VERY careful not to get poly all over those babies.

Oh and in case you're wondering what we do for entertainment while we're working on projects ... our go to is the 90s music channel on Comcast. Good times. Although we might have to change to something else because we realized that the early nineties songs are now 20 years old! That was a pretty nauseating realization that we're getting old.

Sunday, June 5, 2011

Kitchen: The Plan

I'm not sure if I ever explained why we chose black for our cabinets. I really love white kitchen cabinets but we just didn't think the oak cabinets would look good painted white. Oak has a lot of grain and the idea of white grain wasn't appealing. Also, we have a lot of dark wood furniture in our open layout dining area / family room and having an all white kitchen at one end would probably have looked out of place.

We weren't really feeling brown or some other color so I started looking around online and found a few kitchens with black cabinetry and fell in love. (I saved these pictures ages ago and unfortunately can't remember where they came from.)

Photobucket
I love this one except for the lights over the island.

Photobucket
This is Gwyneth Paltrow's kitchen and I adore it too.

Photobucket
This is my favorite out of all the black kitchens I saw. I love everything about it! (I just wish I had a bigger picture of it.) Obviously that kitchen is more fabulous than we will be able to achieve but we decided to use it as our inspiration.

I love, love, love white marble countertops but they cost a lot more than we want to spend (also, we probably wont live in this house forever and a lot of people don't like marble in the kitchen because its a soft stone) so we went with quartz for the counters because they have white color options.

This is the color/pattern we picked:
Photobucket

Its called Iced White and we ordered from Ikea. I got quotes from 5 places who all use different brands and Ikea had the best price by far. It looks a little busy in that small square - its more subtle when its a whole slab.

You're probably wondering why we are ripping out white tile only to replace it with white stone? Surely we're crazy. After 2 and a half years of living with the tile I am sick of it. The grout looks bad and is a total pain to keep clean, and I miss being able to roll pastry etc out on the counters - I always need to use a cutting board because the tile isn't totally smooth. Not to mention the sink area - no matter how much we scrub the sink never looks clean.

Photobucket

Photobucket
This is after a good scrubbing - those stains never come off!

Photobucket
Yucky grout.

I am really looking forward to a nice smooth surface!

For the backsplash we are doing white subway tile. Simple and timeless. We also love colored glass tile backsplashes but with black cabinets and white countertops going for something neutral will probably look better.

We got a steal on the sink. We'd been eyeing this double width single bowl (we prefer no divider in the middle) at Home Depot and a couple weeks ago we noticed they only had the floor model left and it was on clearance for $100 off! We snatched it right up. The other day I noticed it had some weird black marks on it - oops didn't notice those when we bought it. Hopefully they come off.

Photobucket
Sorry about the miniature picture - its the best one I could find online. I forgot to take a photo of the actual sink and now its at the countertop place.

Faucet shopping took a while. I was somewhat (okay very) picky about what I wanted and we also wanted to keep the price down so that really limited the choices. We finally had it narrowed down to 2 and couldn't make a decision. A week later one of them went on sale so that made our decision for us. I love it!

Photobucket

So that's the plan. I'll post some progress pics soon.