
The main project I wanted to complete was the bed. I bought the bed when I moved to California in 2003. Its completely not-my-style and I wonder now why I ever bought it in the first place. I think it was $120 - that's probably why.
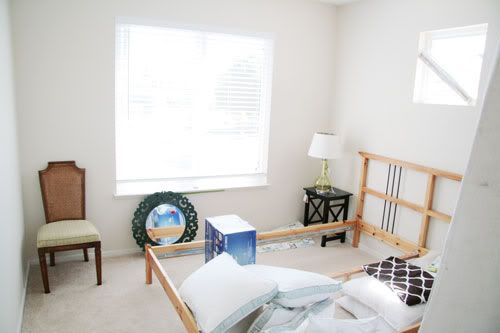
Here's how I gave it a whole new look for a little over $43!
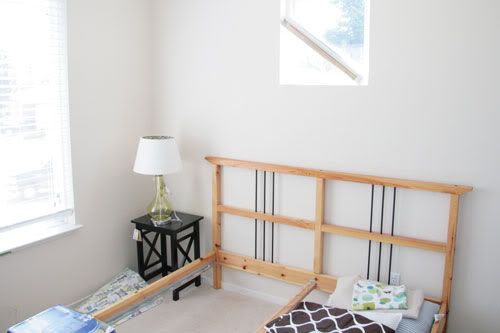
1. Cut off the end pieces on the headboard.

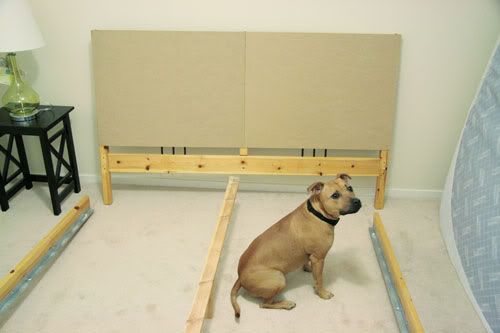
2. Attach thin MDF to the headboard. (Cost = $10.34) Note: the MDF doesn't go all the way to the bottom of the headboard because I decided to use the 24 inch wide boards to keep the cost down. The larger MDF boards were quite a bit more expensive and I knew the mattress would cover that part of the headboard so I didn't mind it not being perfectly covered.
3. Prime the pine with supplies we already had.
4. Paint using supplies we already had.
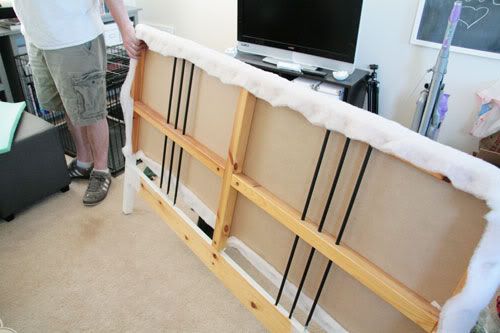
5. Glue foam to MDF. (Cost = $20.96) This was the most expensive part of the project - I had no idea foam was so pricey. Luckily I had a 40% off coupon! The foam was 24 inches wide which worked perfectly with the MDF boards.
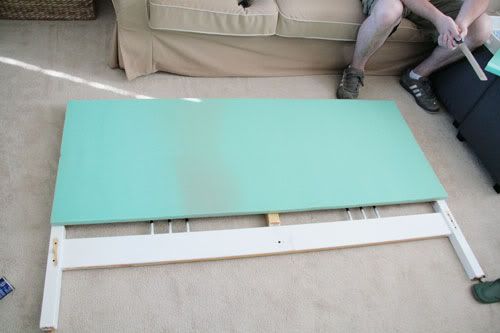
(The knife in Josh's hand is for cutting the foam ... just in case you were wondering!)
6. Wrap heavy batting around foam and staple to the back. (Cost = $7.86)
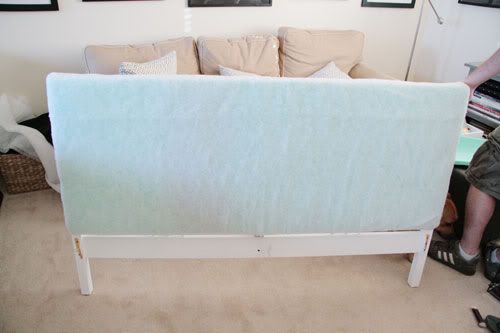
7. Wrap fabric around batting and staple to the back. I already had this burlap fabric which I thought would work well - the color is a bit too similar to the wall color but I'm too lazy to redo it. Plus I don't want to buy more fabric. (Cost = $4)
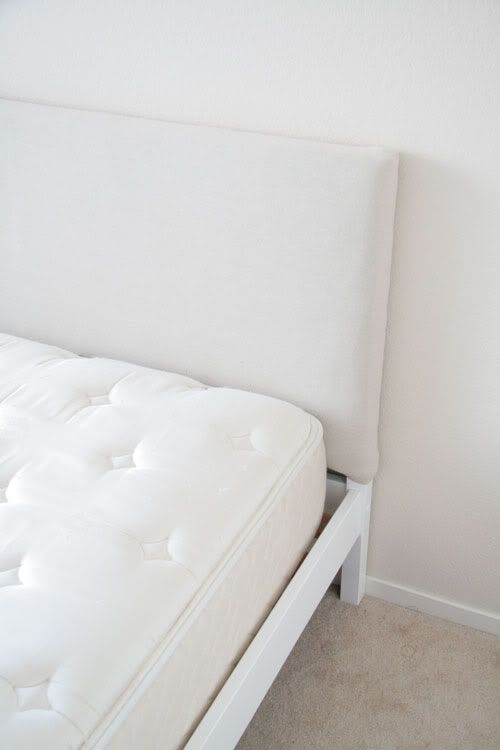

Much better don't you think?
1 comment:
Apparently the dogs approve!! Once again, you completely impress me with your decorating skills. It looks amazing!
Post a Comment